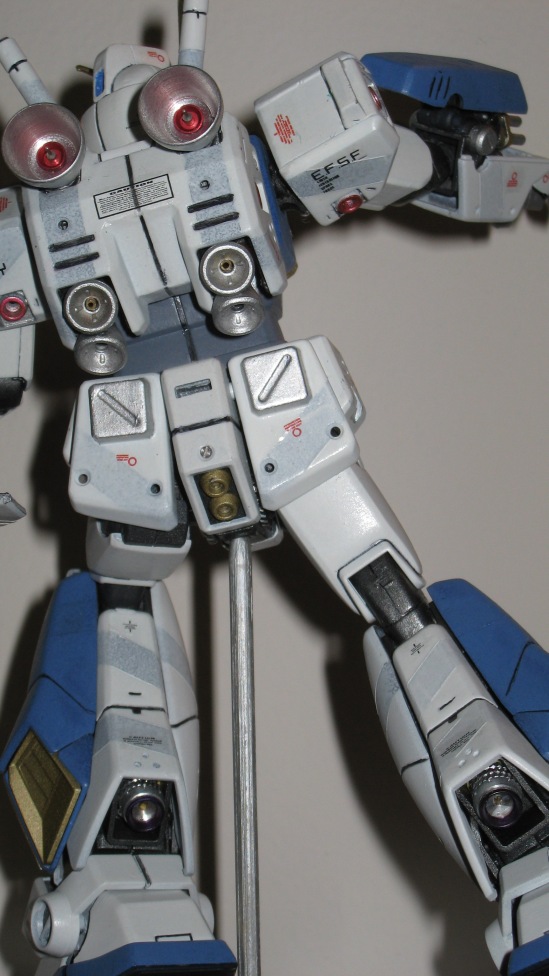
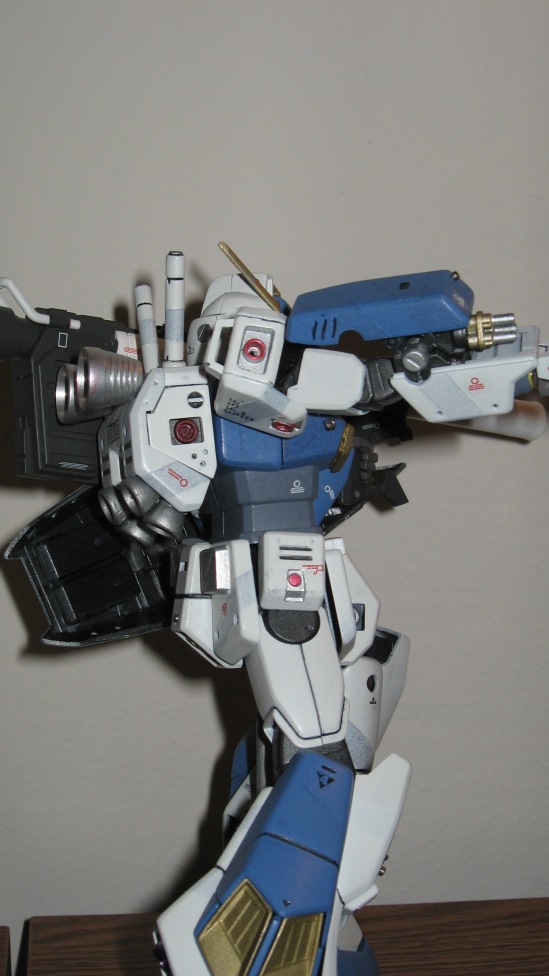
Well, I’ve actually had this project done for a few days now, but lordy I’ve been slow in getting around to things. So without further delay, here is the 1/100 Gundam Alex Hi-Mobility Custom:
 This project actually represents a myriad of new techniques, and that is why it took a bit longer than anticipated. For starters, I needed to decide on a color scheme, which I ended up sticking with the traditional blue and white, but a softer blue and frosted Grey striping on the white (which did not turn out that great in retrospect). I’m also trying to find a good balance of armor slotting/holes so that it doesn’t seem “over done”. I think the three above the ankle turned out great. The five on each hip pad…meh, not so much.
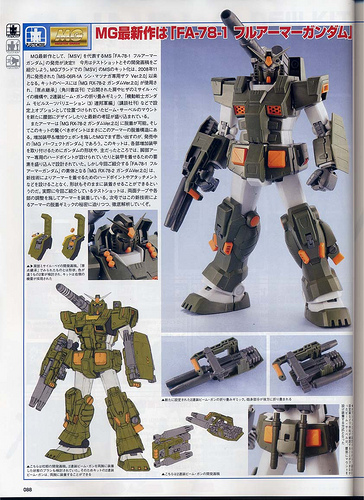
One of the original concepts I wanted to work with here, is what I’m calling “A-UC” modifications, or Alternate-Universal Century – much like my last project, the Blue Destiny Space Type – I like creating alternate situations within the Universal Century – So in this case – The EFSF created the Alex to have several different layouts, including bulky Full Armor, and this much faster, Hi-Mobility layout. You can see I added dual thrusters to the bottom of the back pack, and two large Full Vernier thrusters to the top, as well as High Output Thrusters under the calf armor. All metal parts are from Mecha Skunk.

 Modesty forbids me to take credit for the hands – they’re just my 1/100 Metal Composite Gundam’s spare manipulators. Same with the Hyper Bazooka. You don’t often see the Alex with a Hyper Bazooka, and seems I lost the beam rifle to an unfortunate modification accident, well, I guess this works just fine. I’ve really taken to the bolts I added to the sides of the head. They give it a unique, but not overwhelming look. I don’t know what I’d do without my cordless mini power drill.
 I actually used thruster pins for the head vulcan barrels. Sheet Foil painted with clear green for the eye and main camera sensors. All decals are from Samuel Decal, of course. I have to say, I had some issues with the paint. I used to swear by Testors Master Acrylic brand, but lately, they’ve changed the formula, and now the paint is very hard to manage with a air brush. Unfortunately, my local hobby store, which carried both Testor’s and my beloved Tamiya paints has closed, so now I’m in a tight bind on where to get my paint. Hobby Wave has Mr. Color brand, but I’ve never used it so I’m not sure what to do. I could go to Hobby Link, but the shipping on that takes quite a while…plus I’m not even sure if you can have paint shipped internationally anymore.
I also used the Future Floor Acrylic coating technique this time, which was a nice alternative to Mr. Top Coat and all that. FFA is a floor sealer you can get at any WalMart, but somewhere along the line, someone realized you can spray it out of an air brush as a gloss coat/sealer, or, mix in Tamiya Flat Base and you can get any type of sheen from Gloss, to Matte (I use Satin, 80% FFA, 20% TFB).
And of course, as you can see, I’m at Max Capacity again. I’m picking up a new glass shelf curio soon, so that will house some of my collection.
So there you have it – the Hi-Mobility Gundam Alex. I have a huge list of projects lined up, so I’m excited to continue working on my Gundam Collection. I also just found a brand new dual action airbrush, so I can’t wait to try it out! My first two priorities are:
 The GP04 conversion, which needs to be primed – this is actually going to be part of another A-UC project, all four GP Gundams, with slight modifications, as an assault squad.
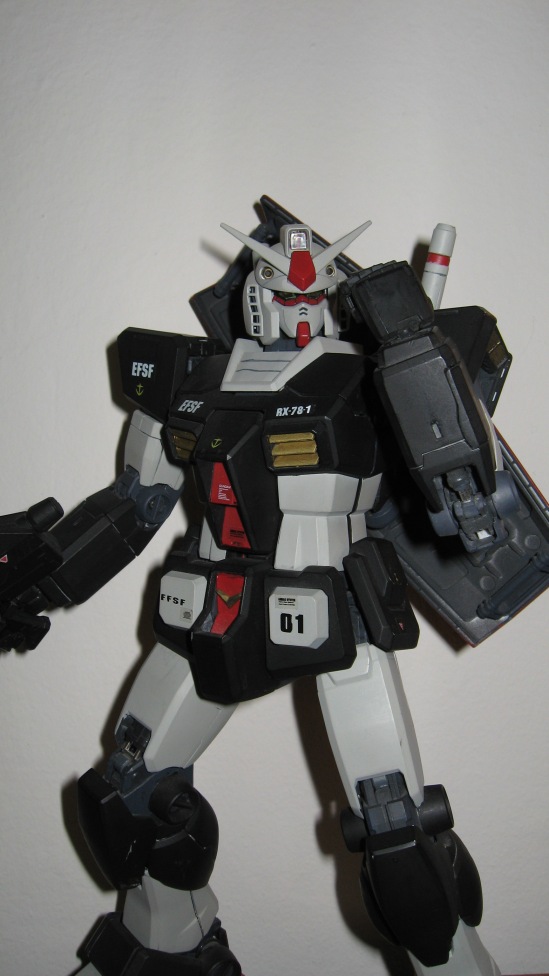
And my other current project is fixing up my PG Prototype Gundam:
 I actually hand painted this guy back before I started air-brushing, but I really want to give him the true Perfect Grade treatment, including a better paint job, modifying some of the armor, adding true metal parts, and fixing those Camera Sensors, which used to look great back when they lit up, but now, I’d rather have them have a continual shine. I have him already disassembled and will just work section by section, which I think is easiest.
So that’s all for the moment. I’m working on pulling myself from Monster Hunter Tri on Nintendo Wii, so I can focus more on my Gunpla Project List.
Jaa~


